Overview
Connect your Sweep&Go Account with NiceJob
Requirements:
- Sweep&Go account (POOfessional Plan)
- Zapier Account (Starter Plan or Higher)
- NiceJob Account
Step #1: Connect Zapier to Sweep&Go Webhooks
See tutorial Zapier + Sweep&Go via webhooks
You will need to choose the event: client:client_onboarding_recurring in the linked tutorial.
Step #2: Test Trigger in Zapier
After you finish connecting Sweep&Go with Zapier, please send some data to Zapier webhook to continue building the integration.
Log in to your Sweep&Go Employee Portal and add a new client using dummy data (Please refer to Residential Clients Tutorial if you’re not sure how to create a new client via Employee Portal)
Go to your Zapier webhooks and click on “Test Trigger” and you should see the data that you entered within your client onboarding form.
Step #3: Add NiceJob to Your Zap
Click on the plus icon under the webhooks and search for NiceJob
Option #1
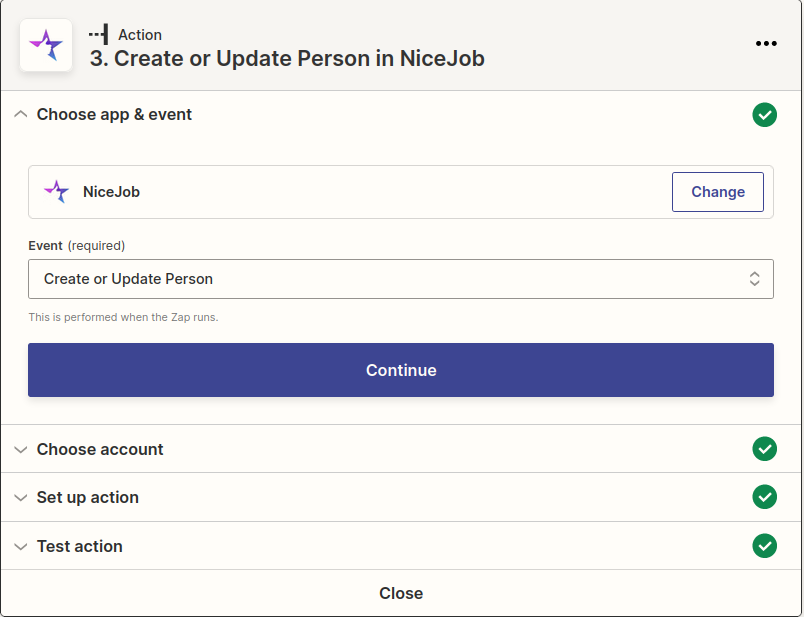
Use “Create or Update Person” to just add new user to the CRM

Option #2
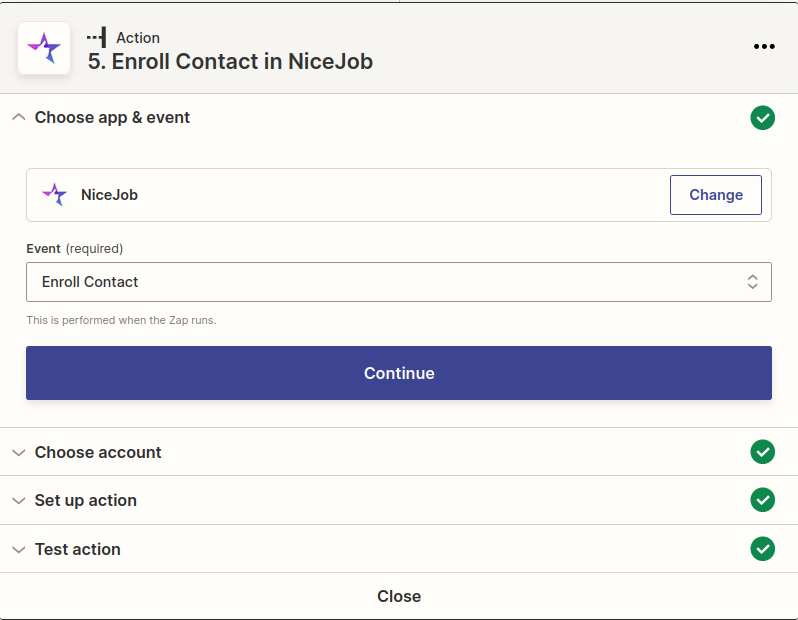
Use “Enroll Contact” to just automatically add new client to one of your existing campaigns

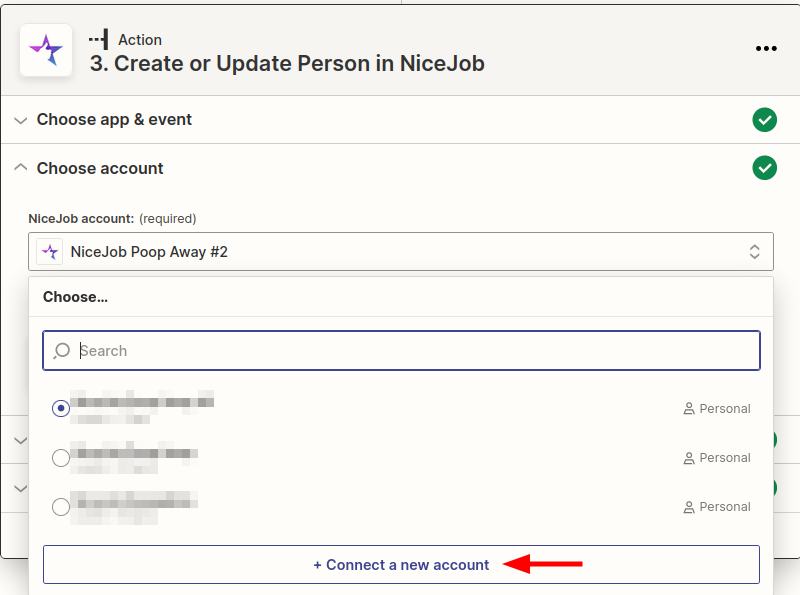
On the next step, select the NiceJob account you want to use or add a new one

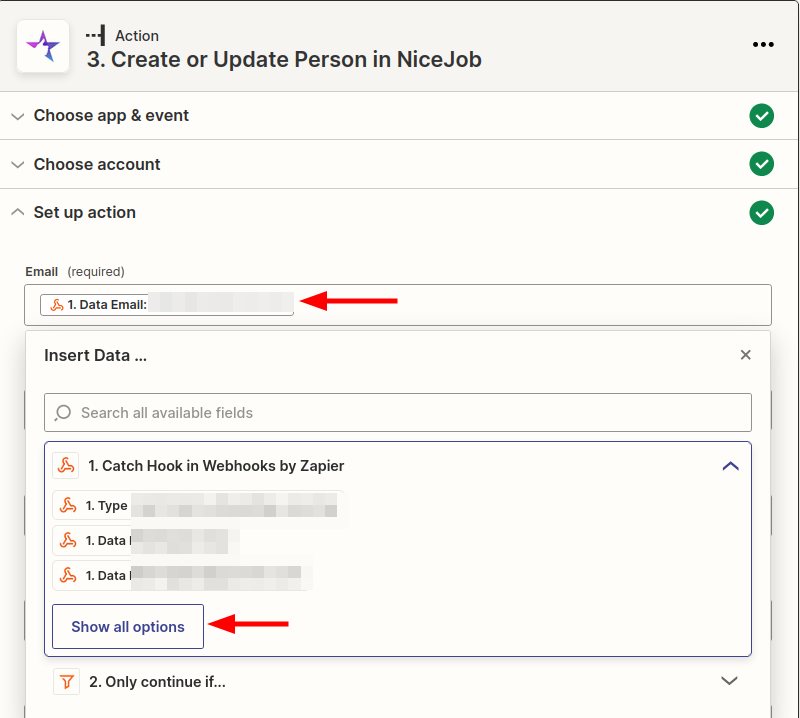
After your NiceJob account is connected, you will see a new “Set up action” step
You may now fill out all the fields you need. If you need Sweep&Go data, it will be shown when you click on any of the fields, press “Show all options” to see all webhook data.

Step #4: Test and Publish Your Zap
After finishing the action step, you will be switched to “Test action”, click “Test & continue” and after that you will be able to publish the Zap and this will automatically send all new leads to your NiceJob account.
To be sure that the integration is working, click “Test & continue” and check your NiceJob account to see your test submission.